
Hello friends! I am here to share with you guys my day 4/100 #100daysofblogging blog post and a fun D.I.Y. Easter project I made for Easter treats last year.
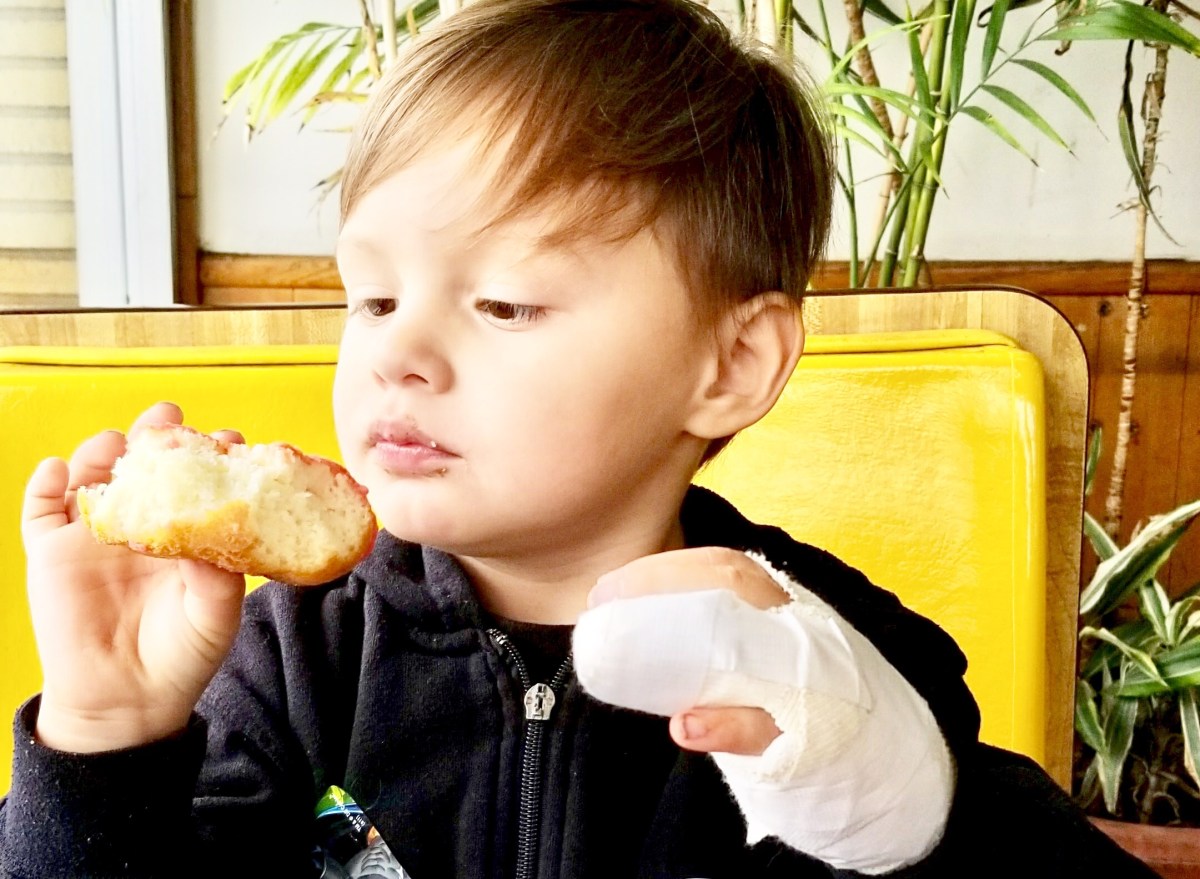
I never got around to share this project because my son ended up hurting his finger really bad literally as I worked on them.
A trip to the ER in an ambulance and 5 stitches later, I finished the project but it was way past Easter at that point to write this post. This was my little champ the day after his accident….
So, we’re throwing it back to last years Easter project where I made some fun EASTER BUNNY TREAT BAGGIES!
I think it’s a fun project that can be redone in many different ways and for many different occasions, as long as you’ve got your tools ready to go!
So let’s begin!
I have decided to create this post in a tutorial format so that you can come anytime you’d like, if you need some thorough instructions for using the We R Memory Keepers Gift Bag Punch Tool I purchased from Emma’s Paperie Shop online.
Alas, here it is!
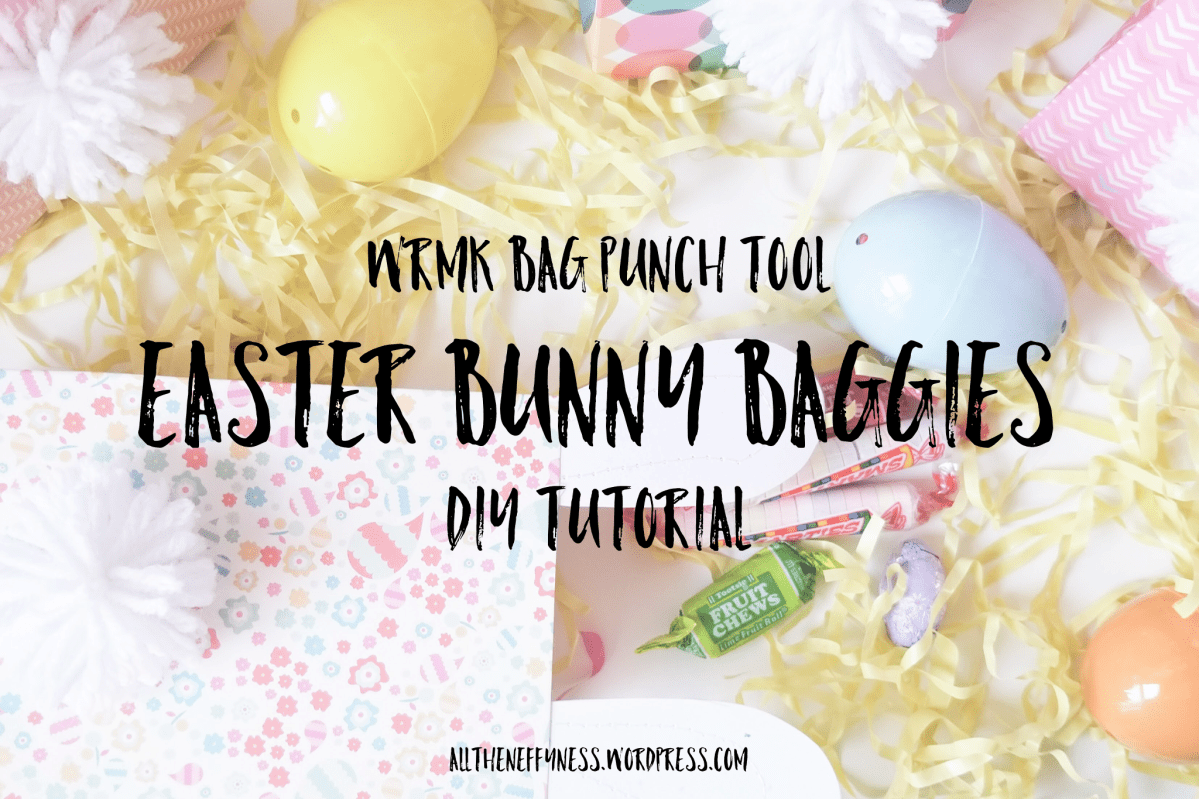
DIY BUNNY TAIL EASTER GOODIE BAGS
I decided that I wanted to make some really cutesy and Easter themed goodies bags for the girls I work with; cause they’re awesome and I was in the mood to spread some love on Easter.
So I went ahead and brought out my We ‘R Memory Keepers Gift Bag Punch Tool that’s been stored way too long! I ordered this from Emma’s Paperie a few December’s ago and hadn’t made much with it since then.
THIS IS NOT A SPONSORED POST BY EITHER WRMK OR EMMAS PAPERIE.
I knew Easter treat bags would be the perfect occasion to bust it out and use it!

If you think you might want to make some yourself, keep reading to find the supplies and steps you’ll need to make these
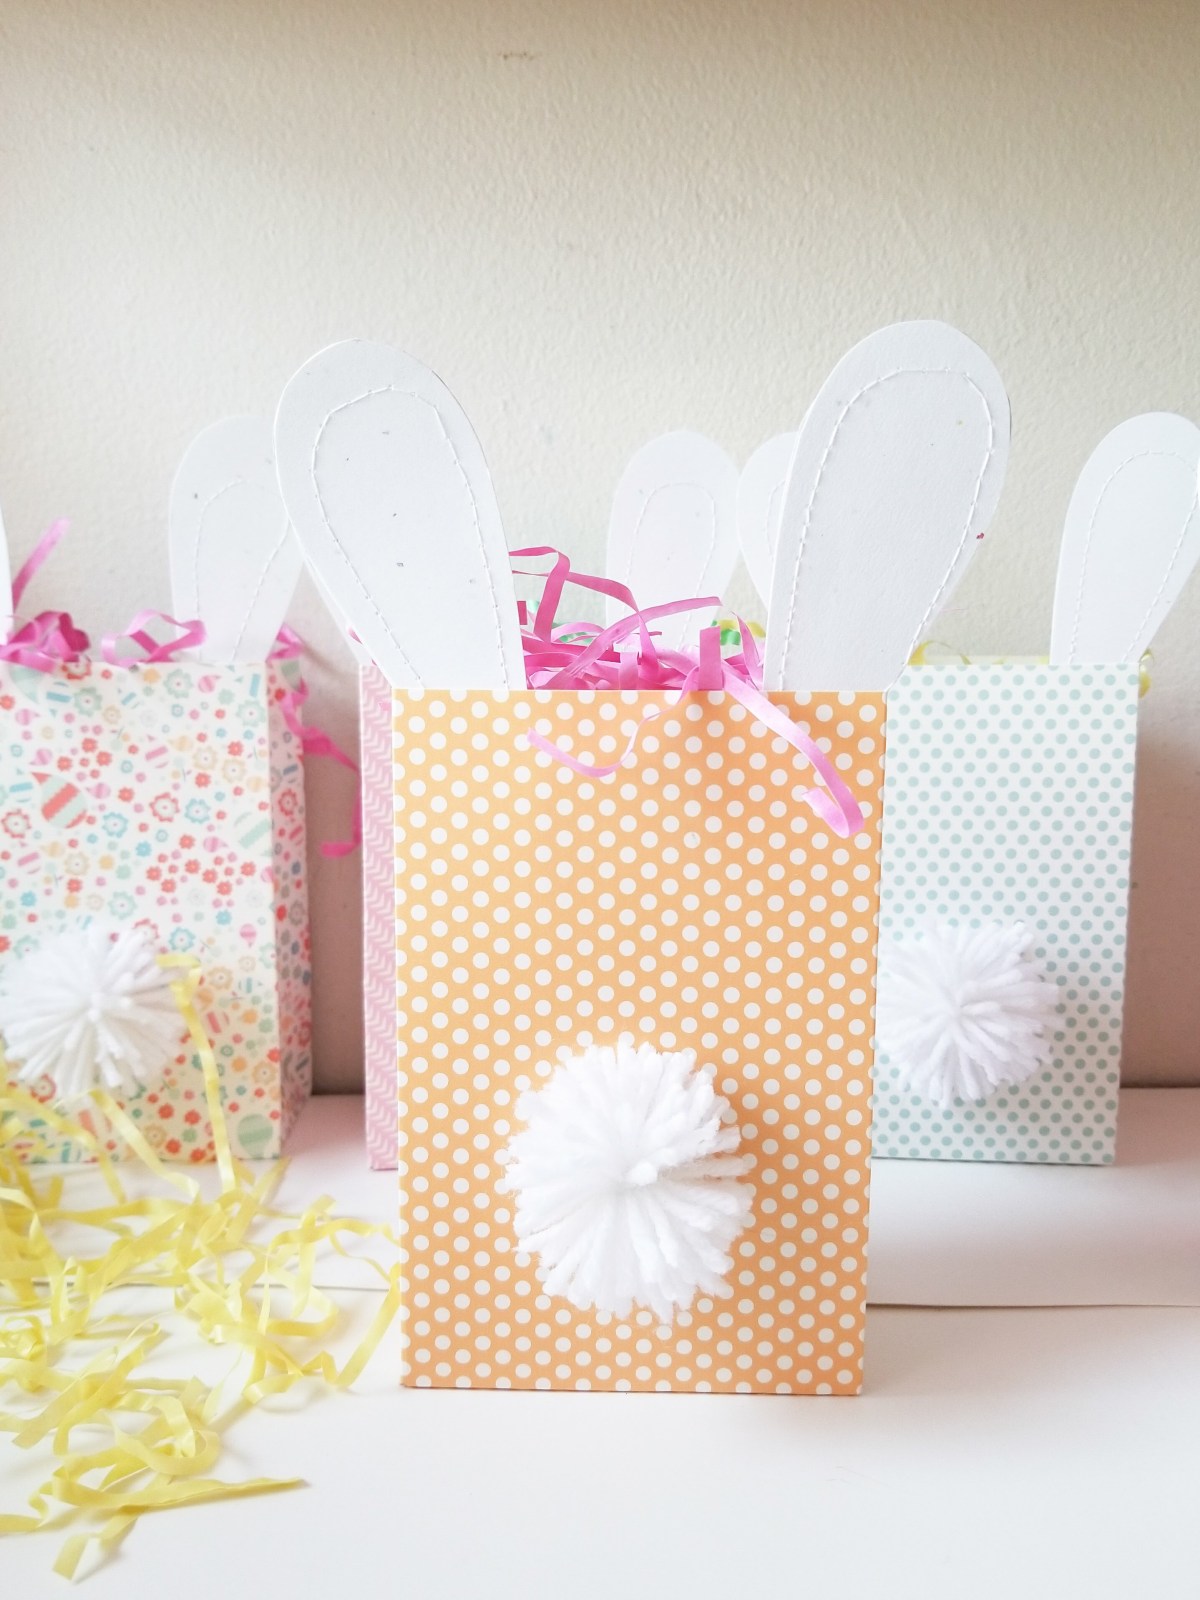
Bunny Tail Treat Bags.
SUPPLIES:
- We R Memory Keepers Gift Bag Punch Tool
- 12X12 Cardstock of choice
- White Yarn
- We R Memory Keepers Pom Pom Maker, Medium size
- White Cardstock
- Thread for Sewing Machine or Hand Stitching for Ears
- Double sided tape
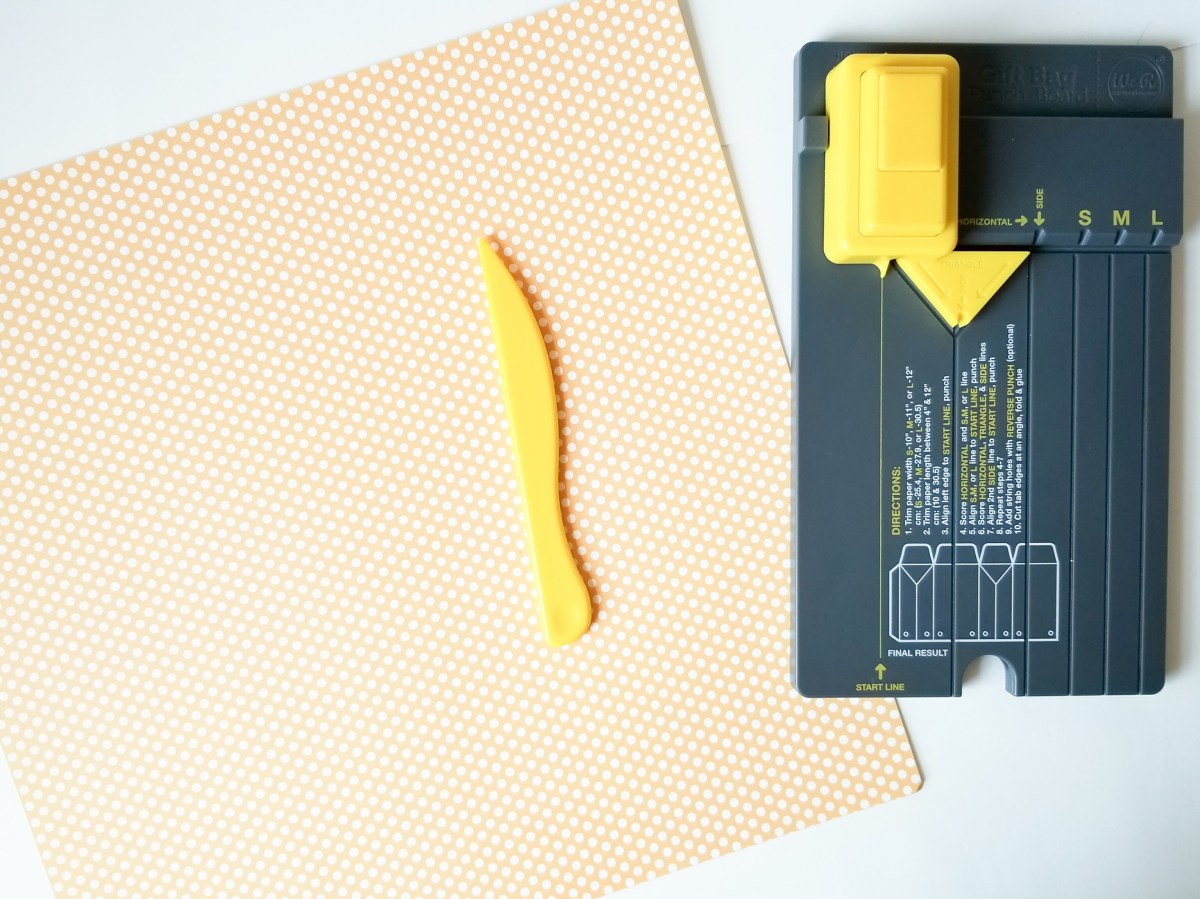
STEP 1
First step is to grab your cardstock and cut it to size. The WRMK tool has sizing depending how wide and tall you want your bag. The finished baggies I made were 6″ x 3 1/2″ and I used a full 12×12 sheet of paper.
STEP 2
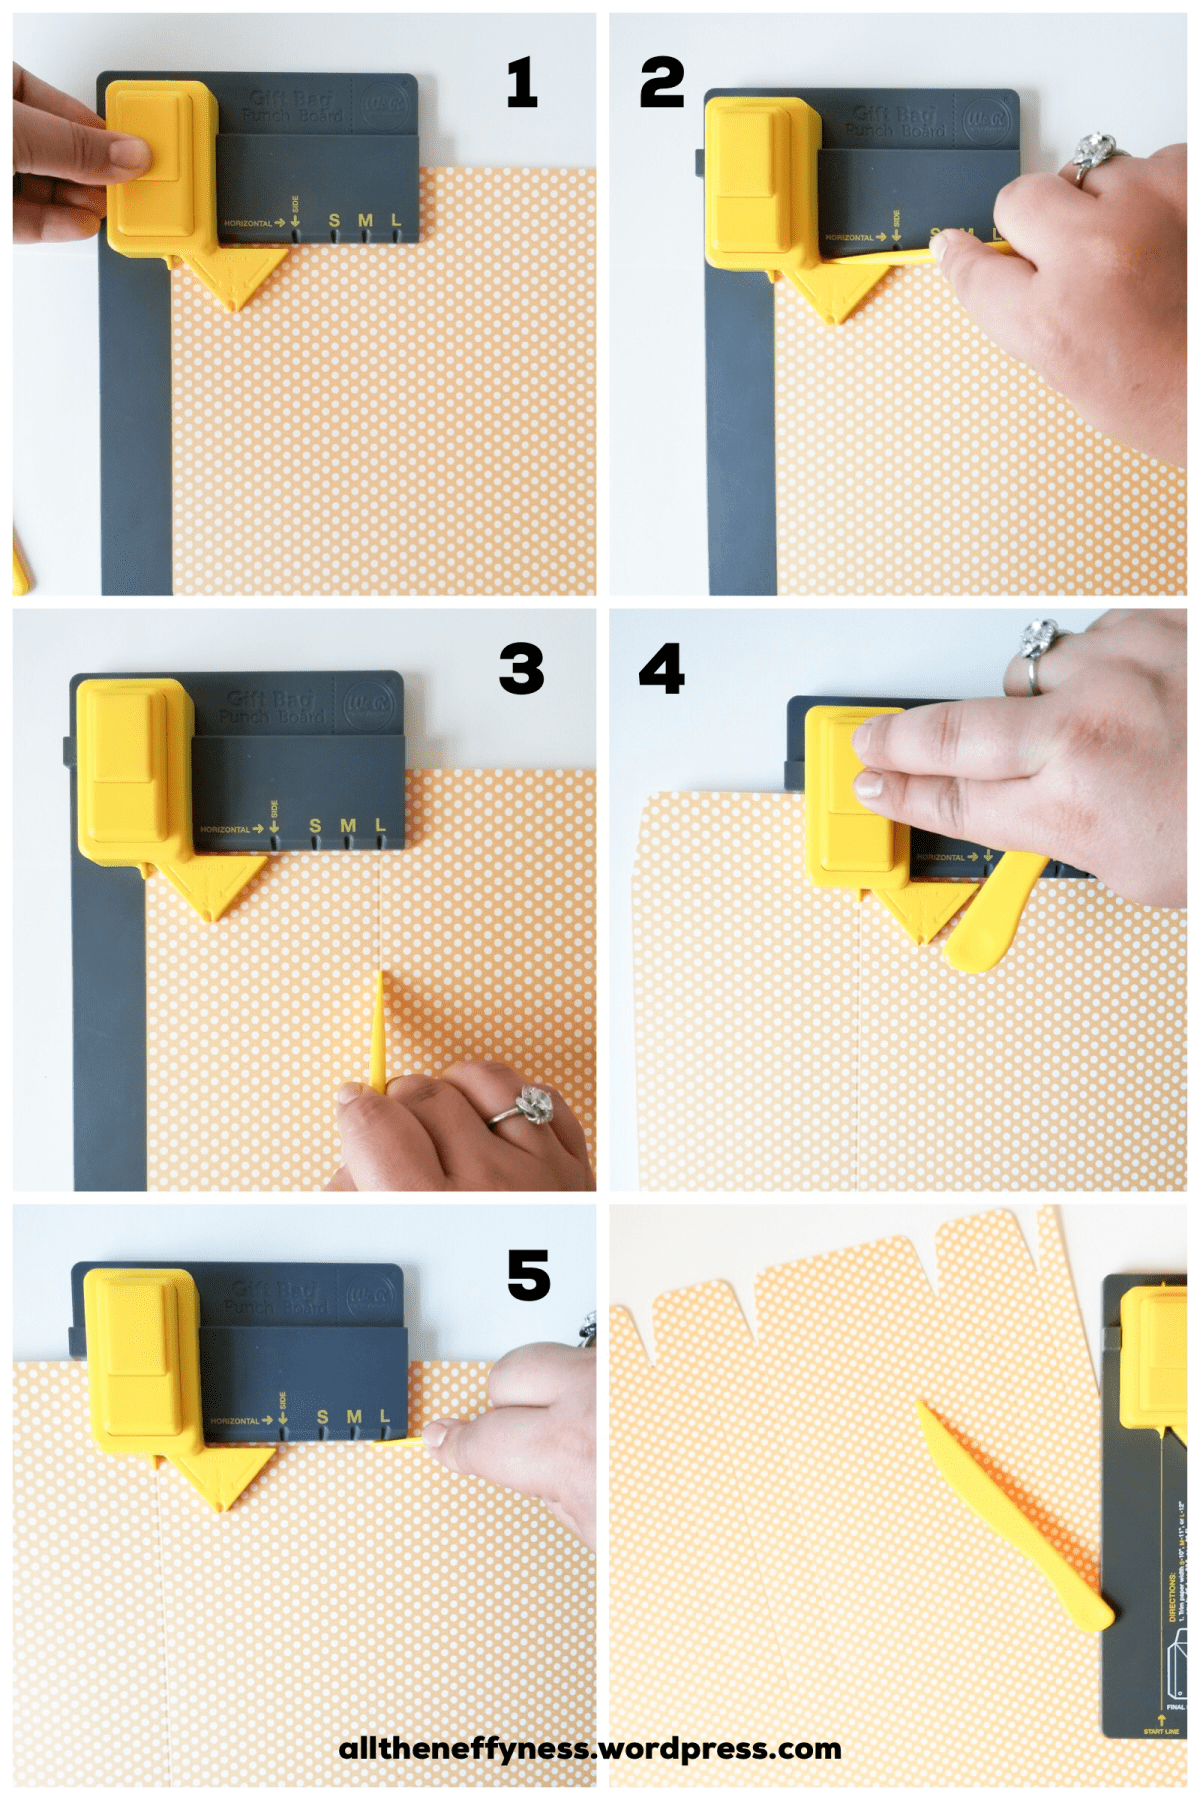
I followed the simple directions on the tool to cut as the image on the cutter. I just didn’t punch any holes at the very end. You can see the image below for the steps.
1. Put paper at starting score line; punch.
2. Score horizontal line.
3. Score at “L” score line.
4. Scoot paper over at score line; punch.
5. Score horizontal line; and score at both “side” lines; score at “triangle” lines; score at “L” line. (You have just made the foldable side panel.
Repeat steps 1-5 at next “L” score line.
I punched out about 8 sheets.
I used and old Michaels paper pad from my supplies that had all of the perfect pastel colors that went well with my Easter theme. 
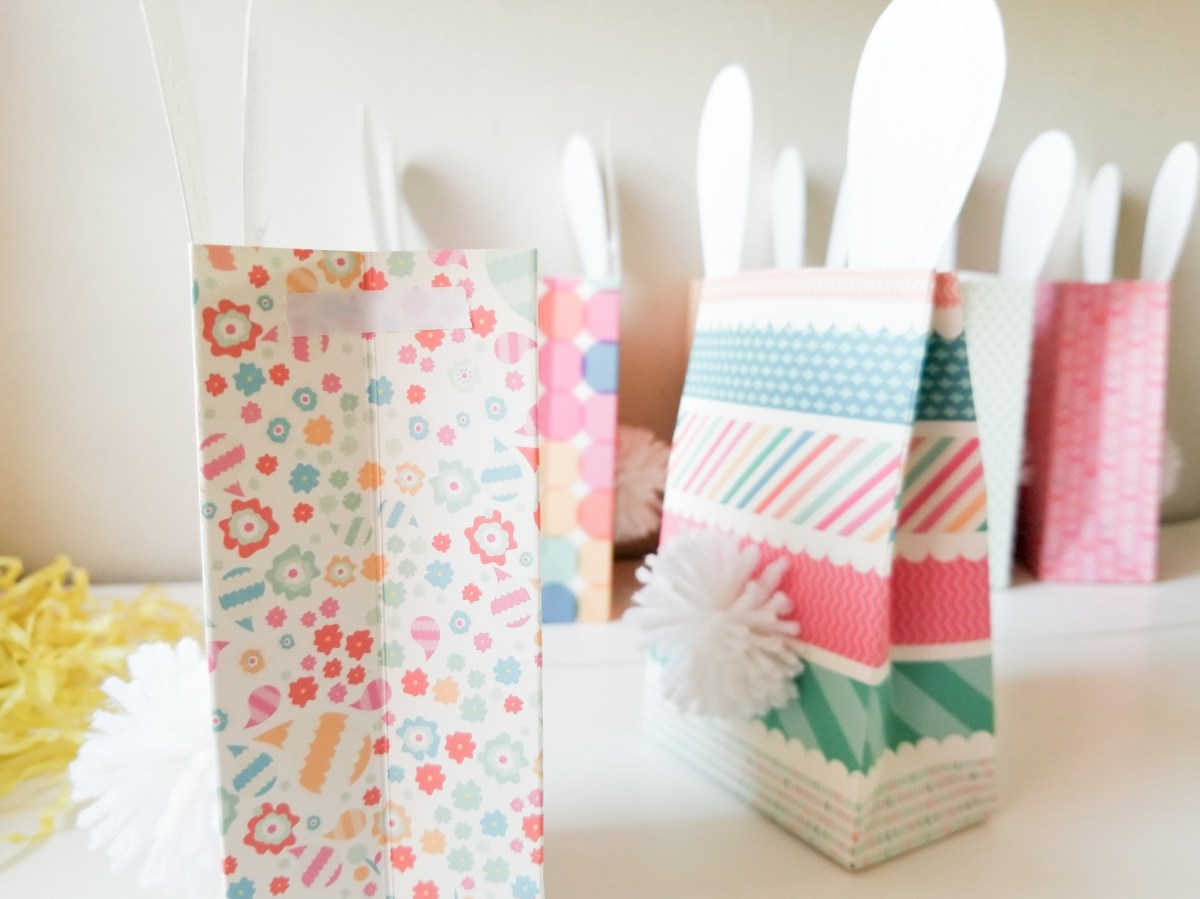
I used my scoring bone and double sided tape to fold and form my baggies!
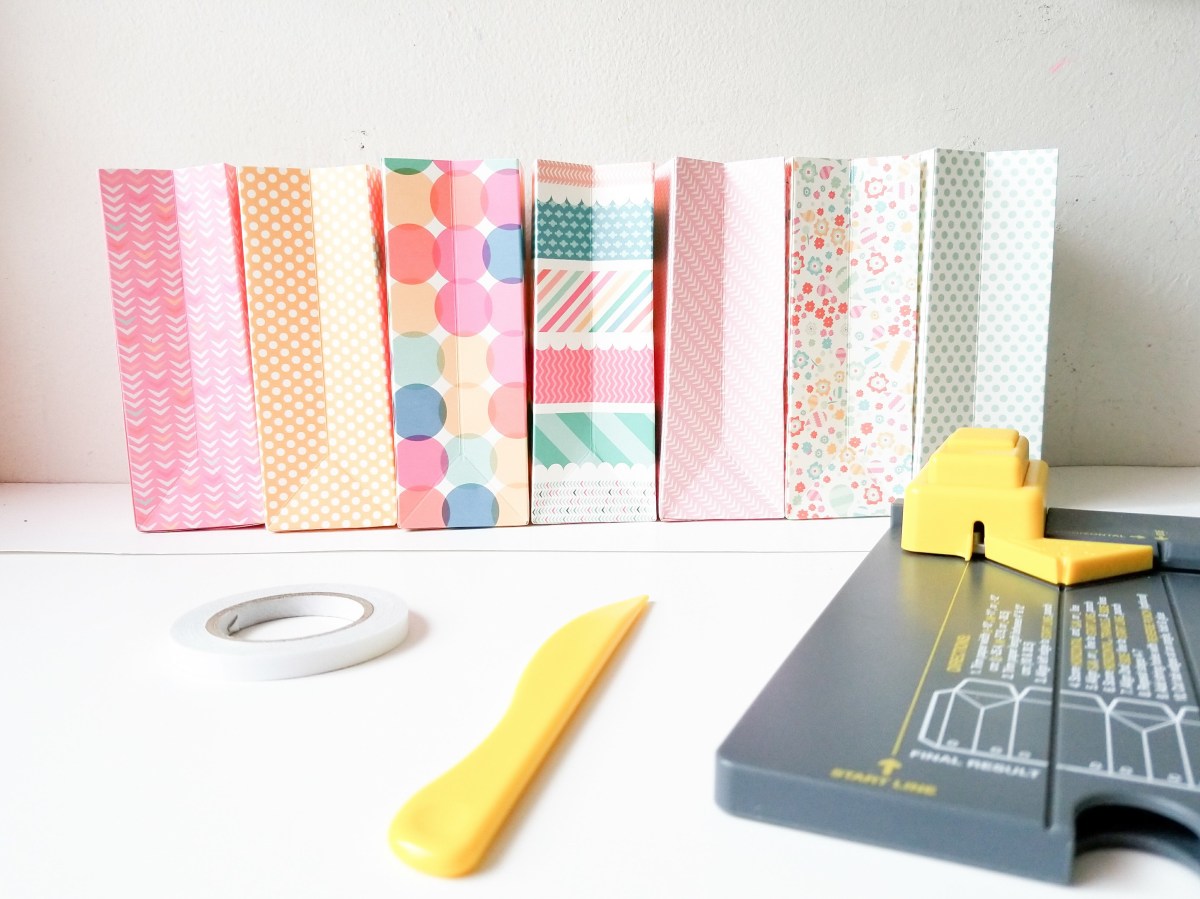
Soooo pretty like cotton candy!

Now that the bags are all put together I decided to add a little Easter pizzazz by adding some cute bunny ears and a fluffy bunny tail…
STEP 3
I grabbed some Card stock to freehand a bunny ear and I used that to trace enough for all of my baggies.
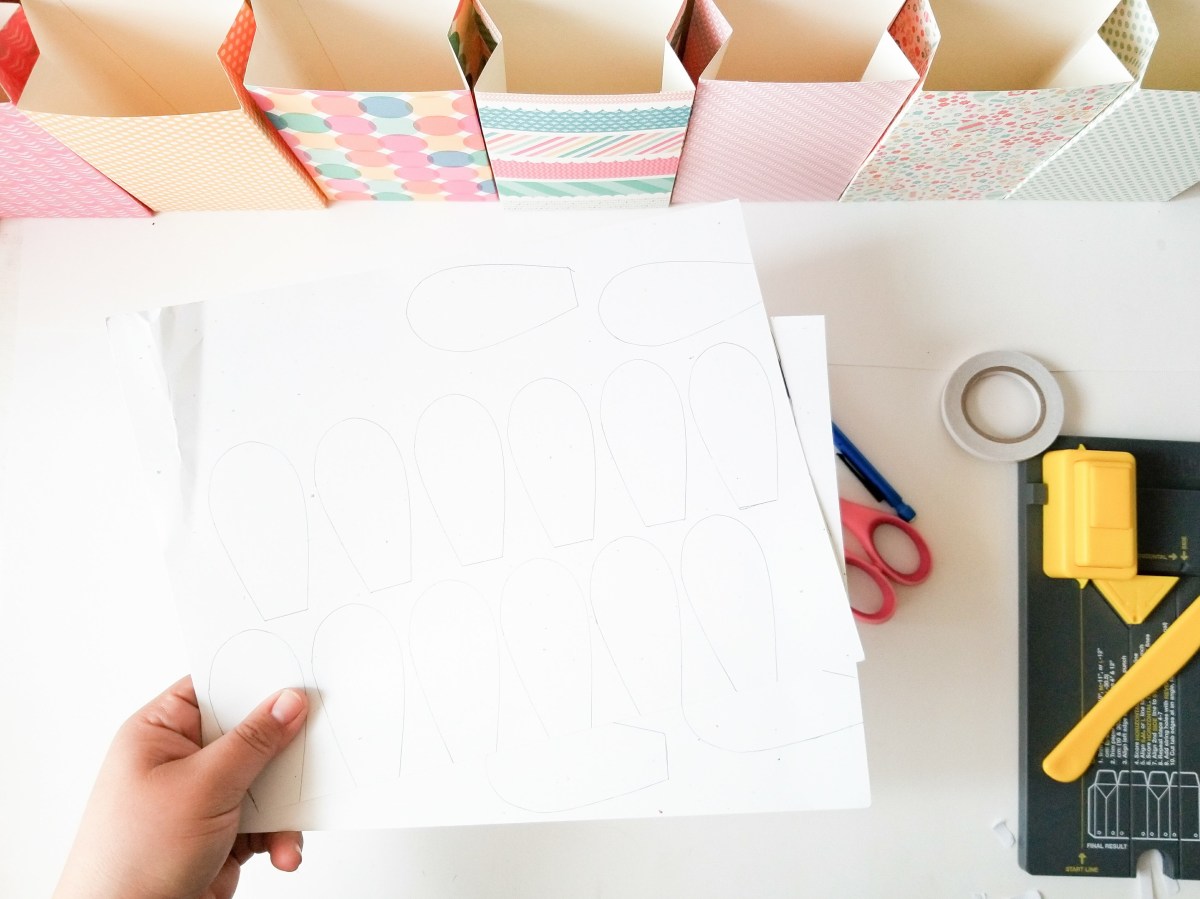
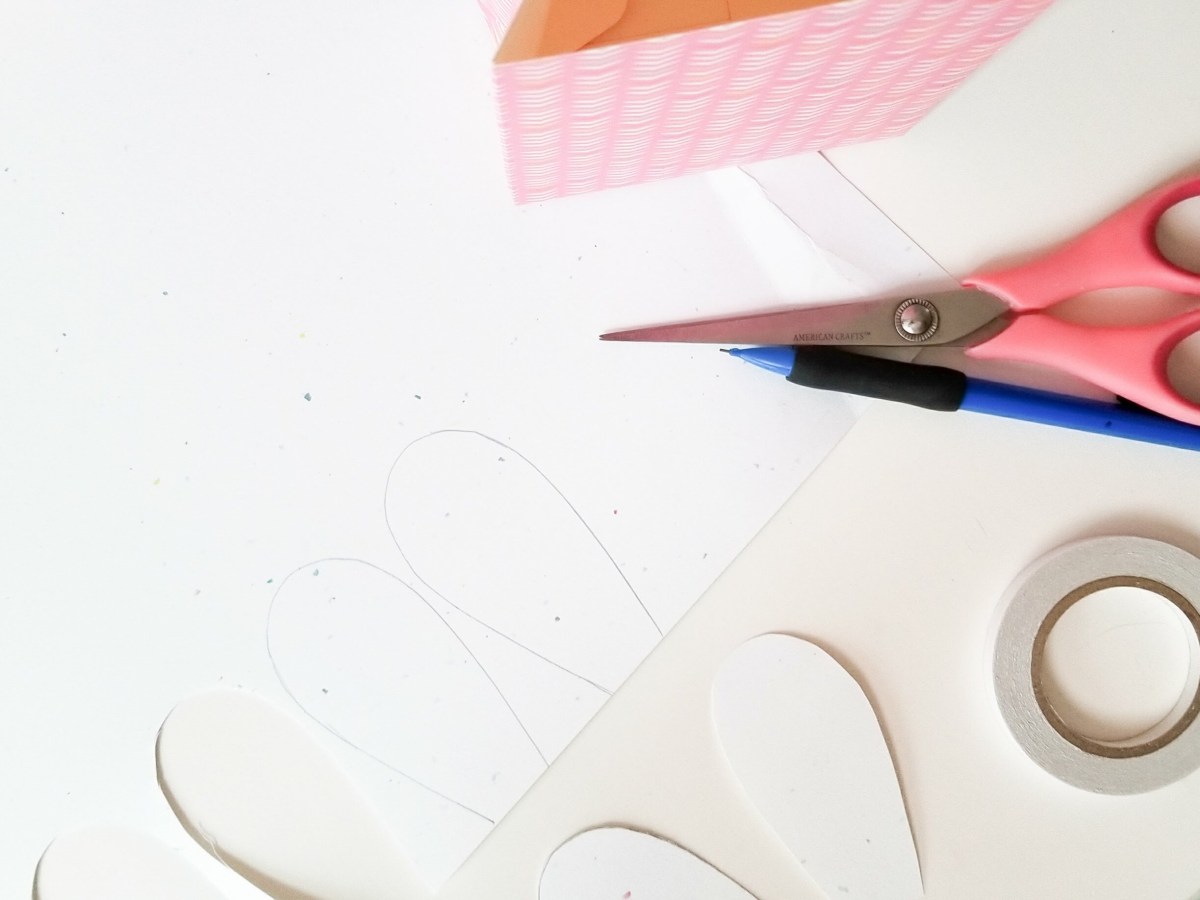

I doubled up on the ears so that they would be a bit more sturdy and then I ran them through with my sewing machine to stitch out the inside folds of the ear ( idk if that makes sense! But check image below).
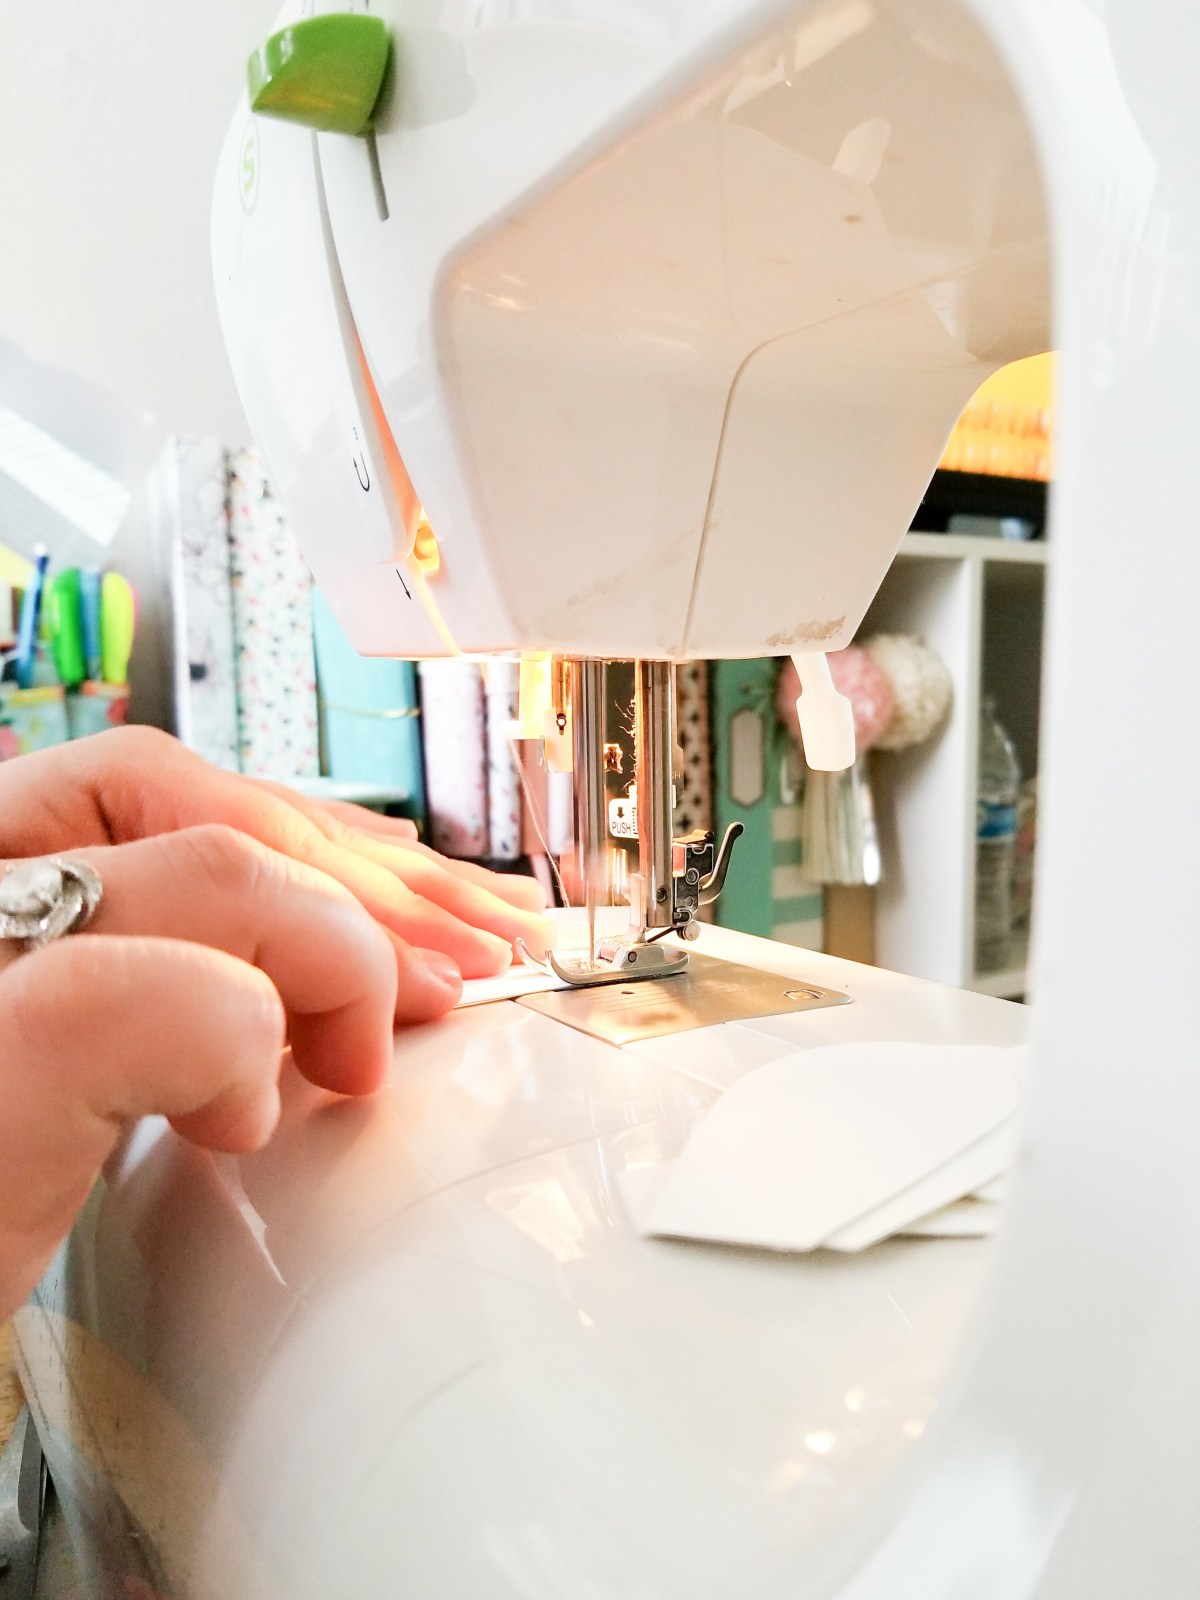
Like so….

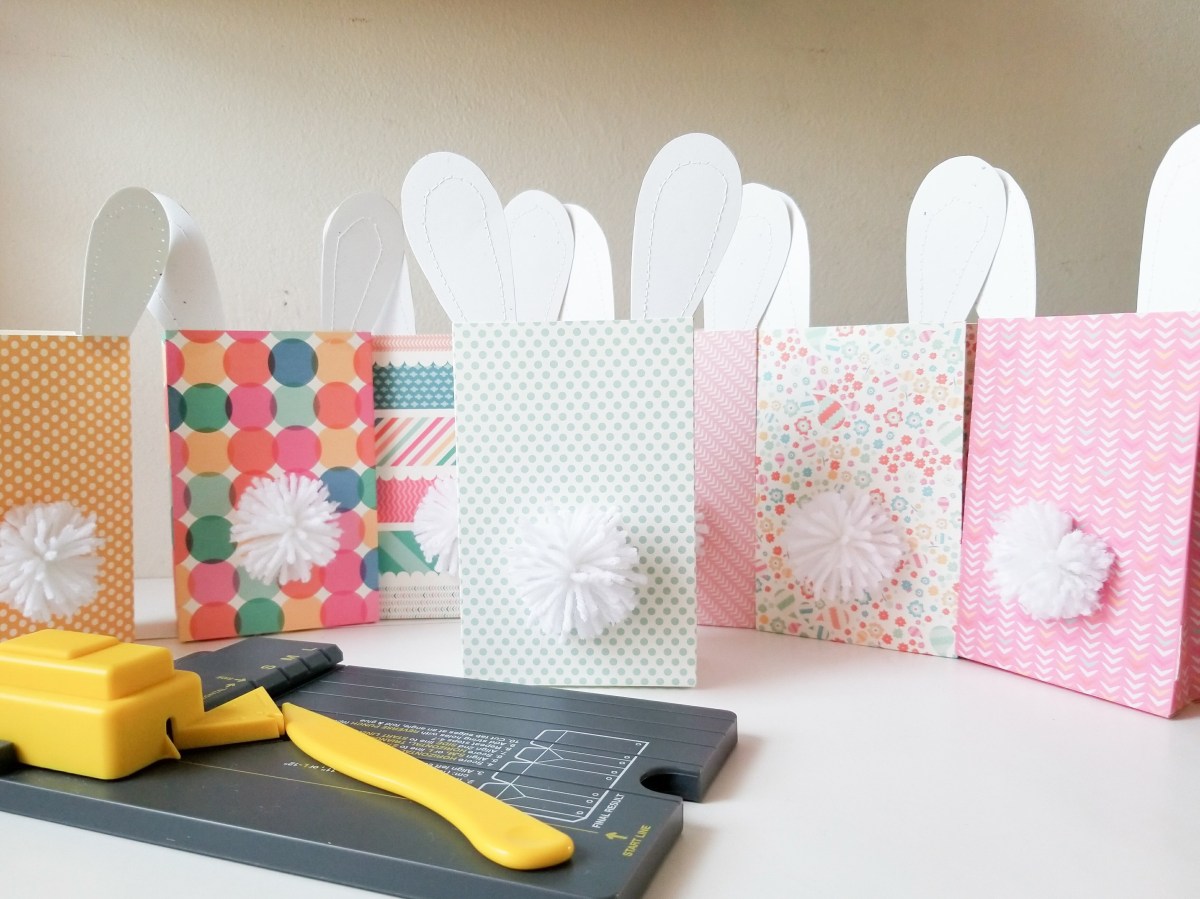
Now that my ears are done, I simply stuck them to the top of my baggies like bunny ears!
STEP 4
Now it’s time to make the bunny tails! Bring out that fluffy yarn and a Pom Pom maker if you’ve got one!
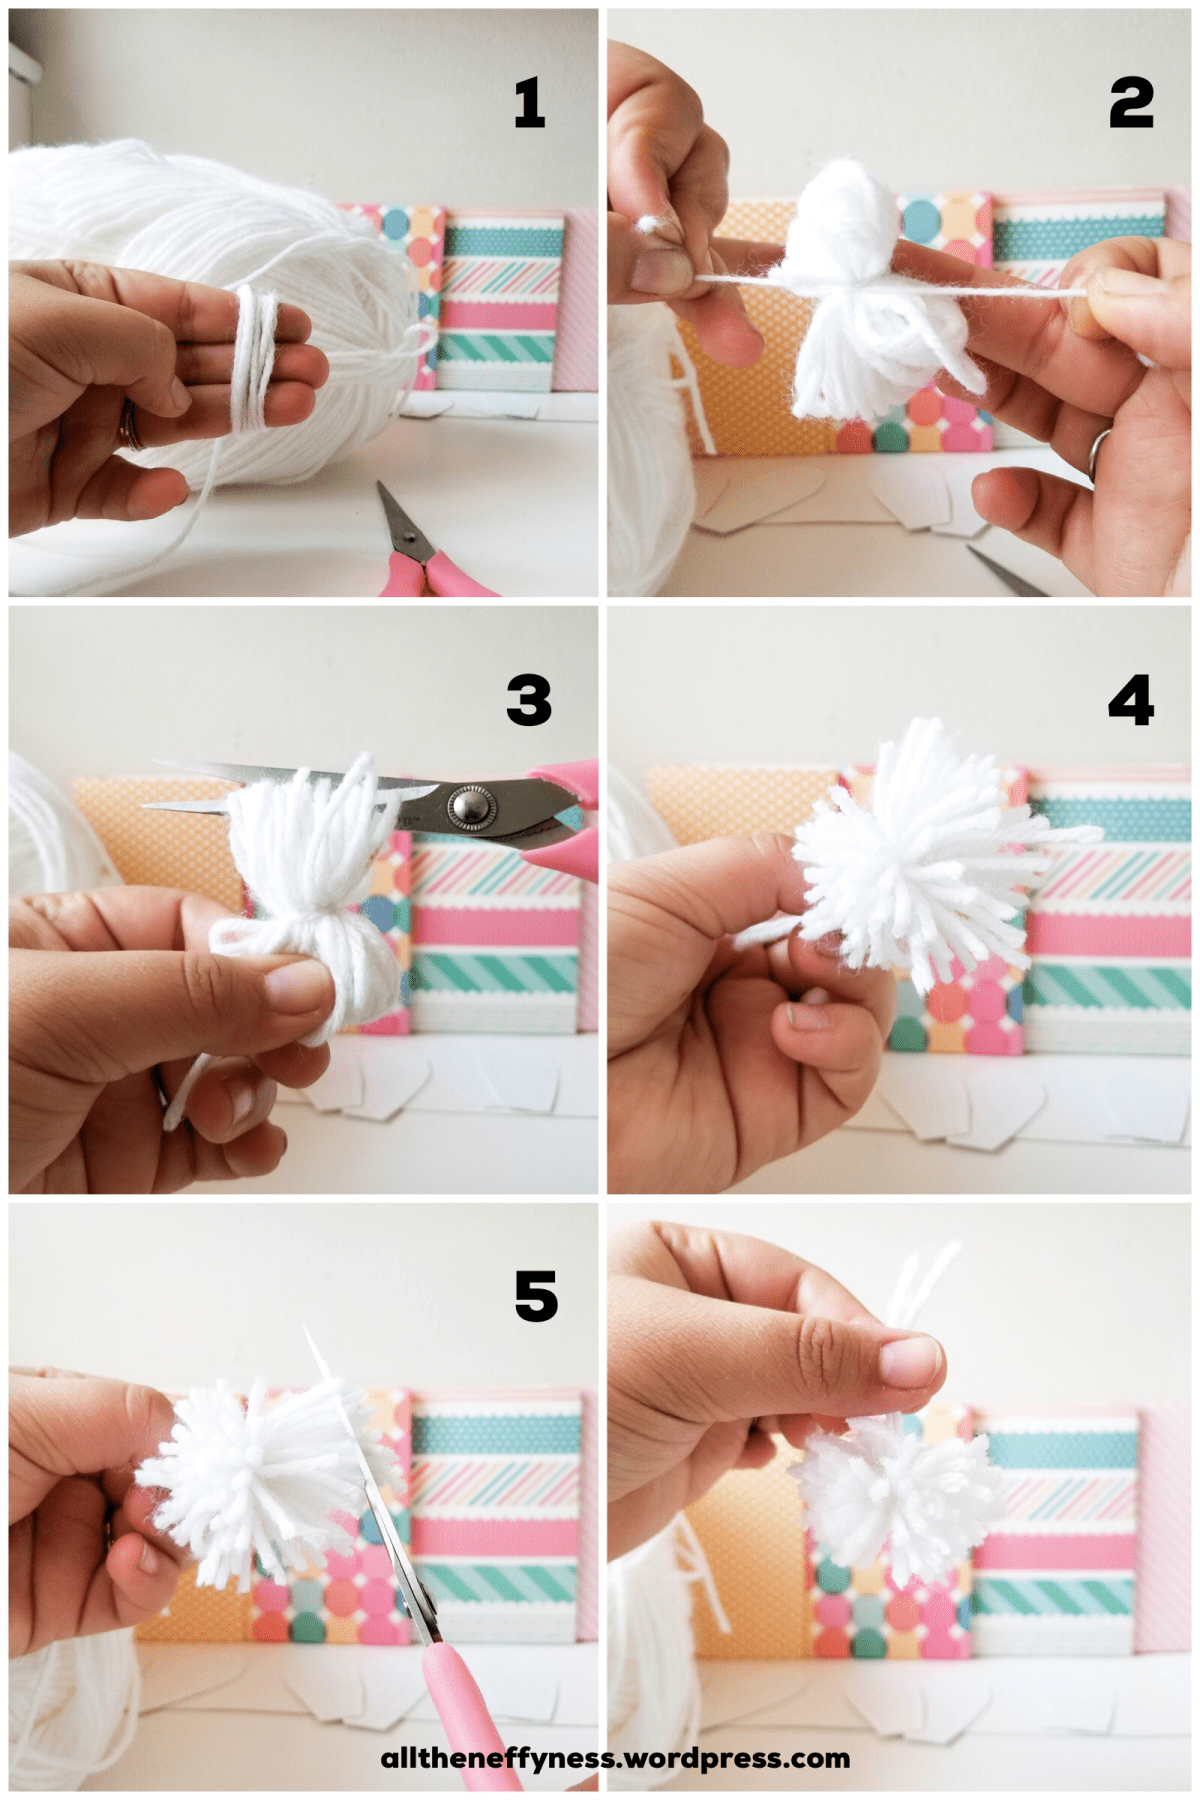
If you do not have a Pom Pom maker, you can follow the steps below using your fingers to create a super easy Pom Pom.
1. Wrap your yarn around three of you fingers at least 100 times.
2. Tie off in the center using a double knot.
3. Cut at each end to loosen all threads.
4. Shake your Pom Pom to fluff it, and check to see if you have any uneven sides.
5. Trim off any uneven ends and try to make it as rounded as possible. Fluff one final time,
You’ve now made a Pom Pom!
Once my Pom Poms were all done, I stuck them on the baggies like fuzzy bunny tails using a glue gun.
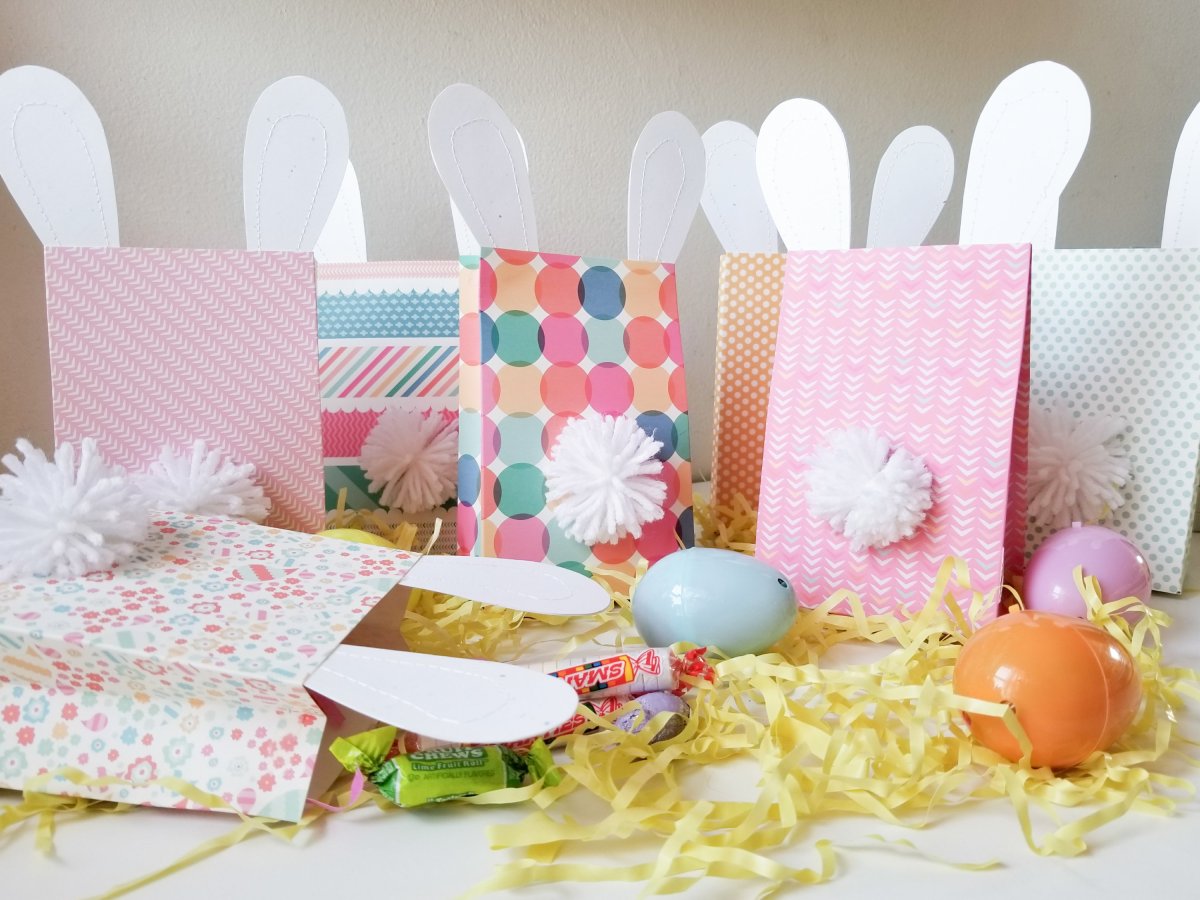
And done!
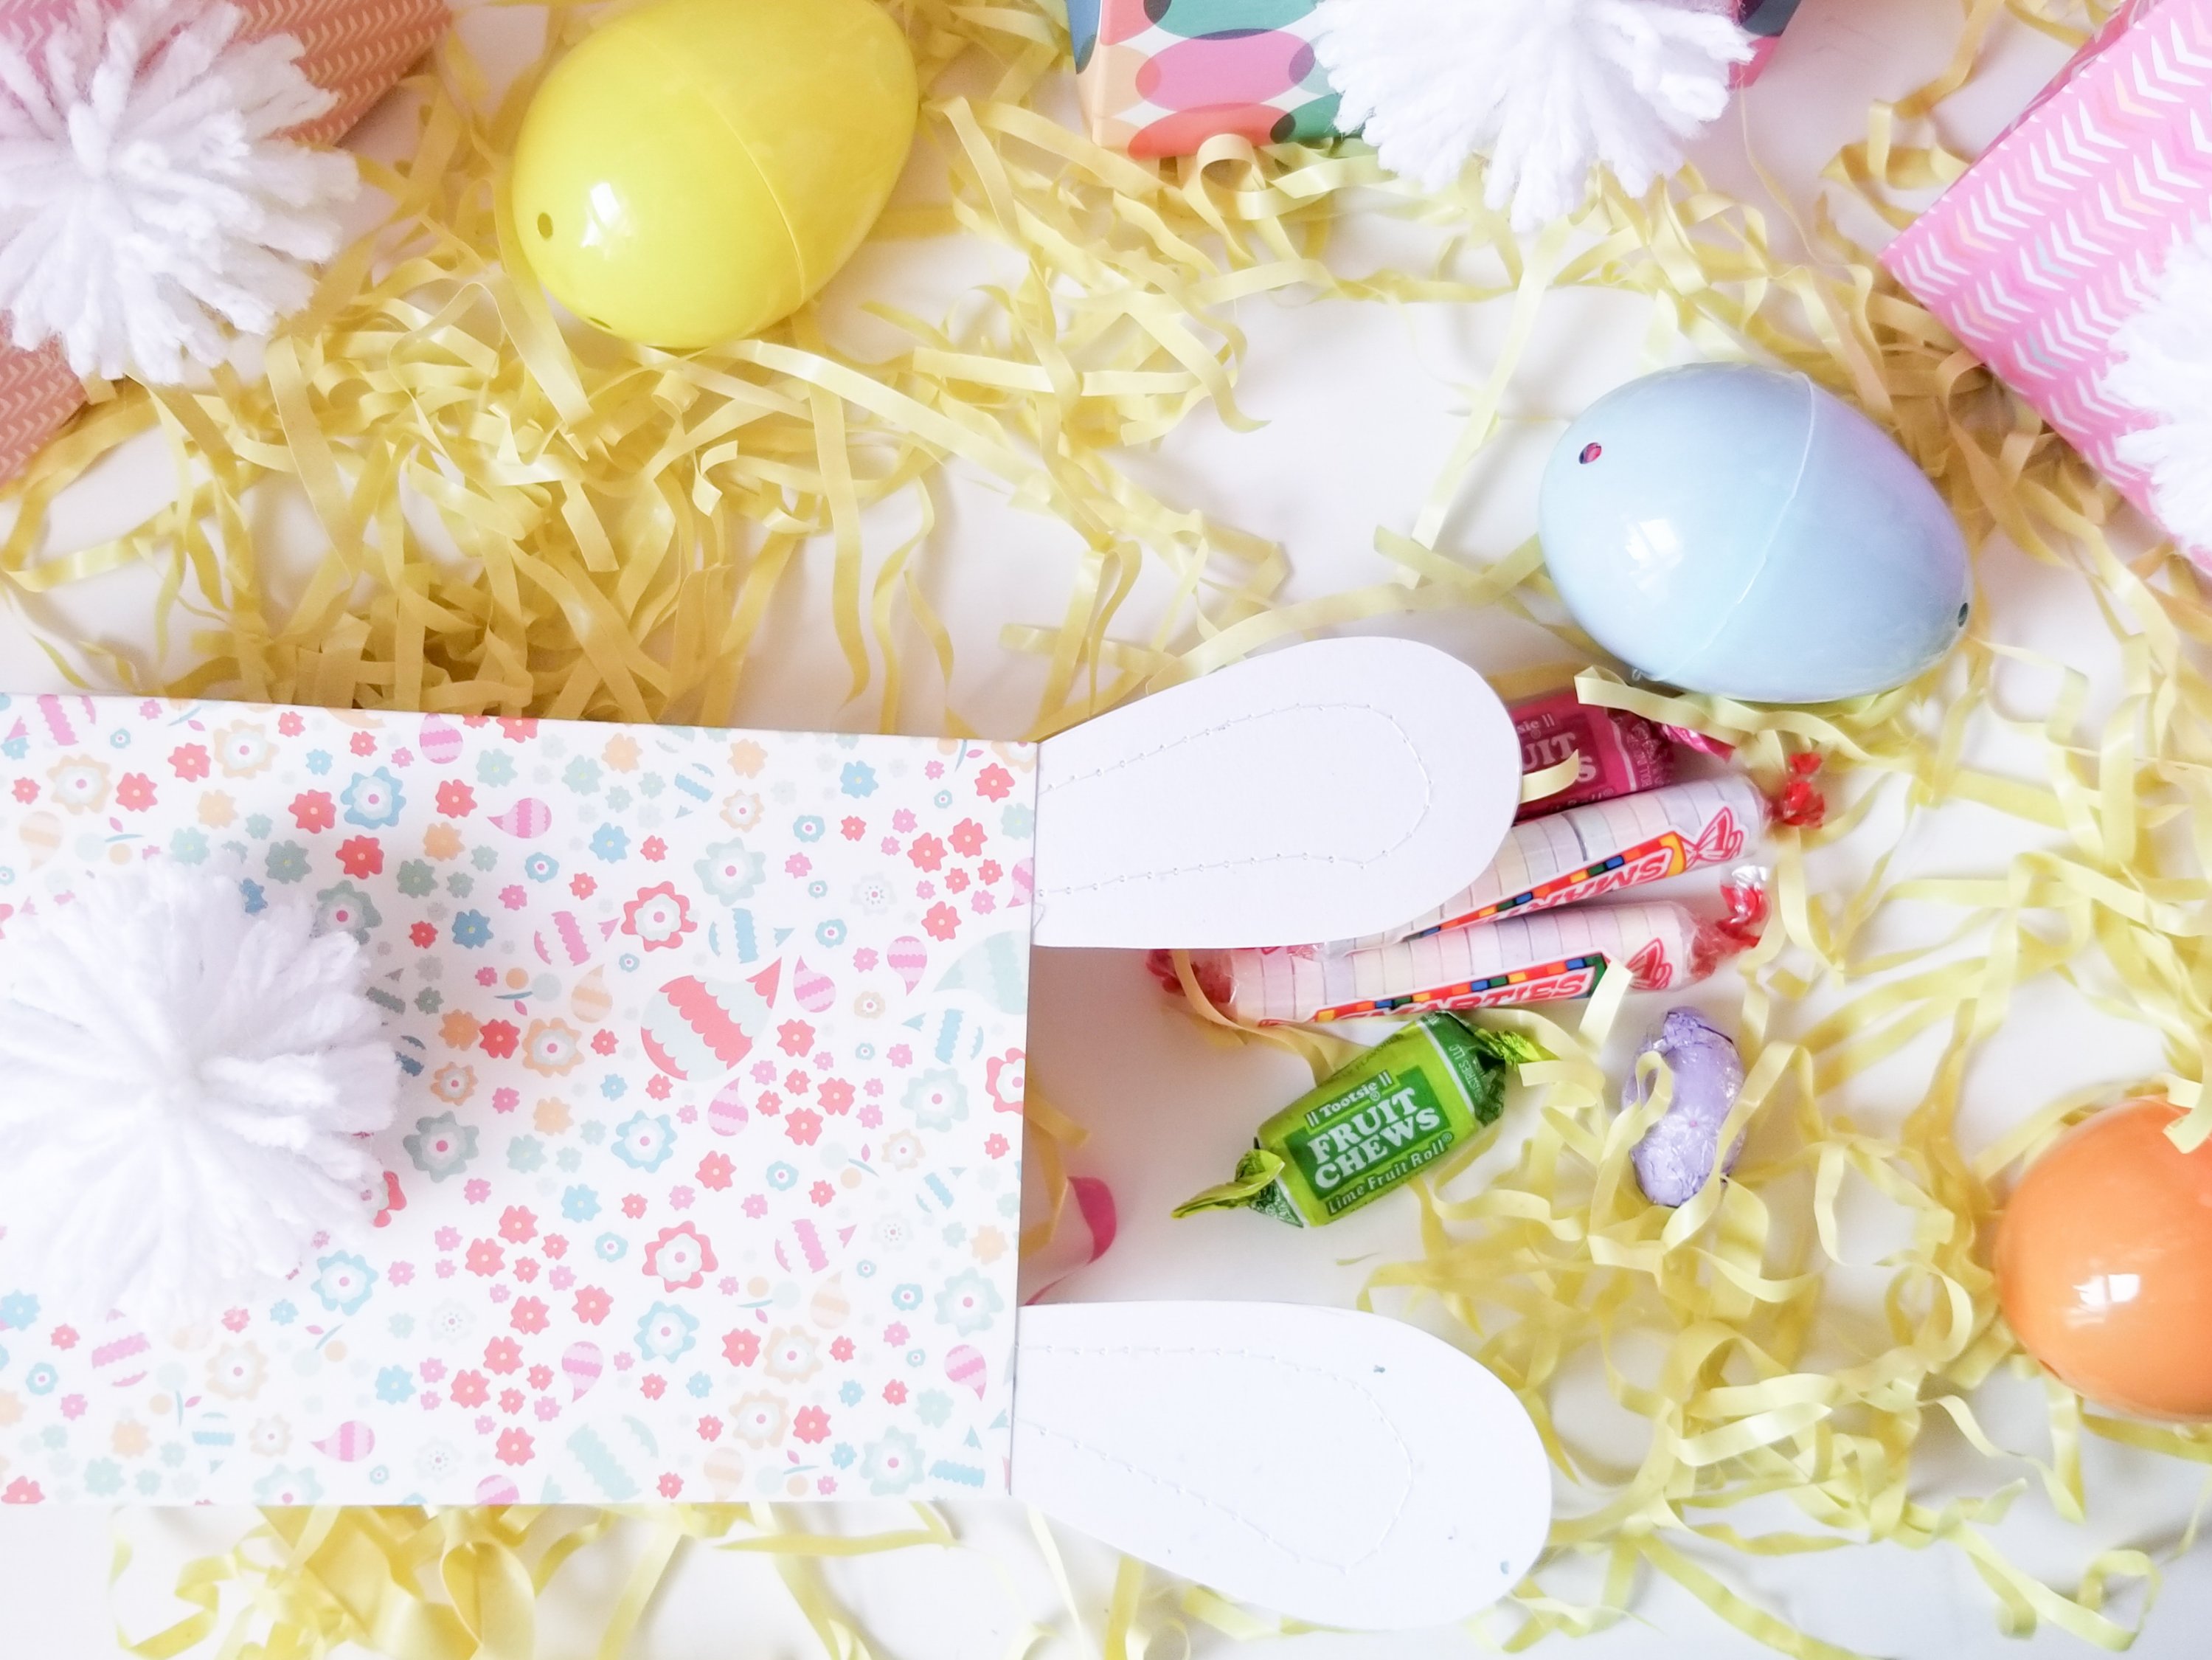
The final step was to fill them up with eggs and Easter goodies…
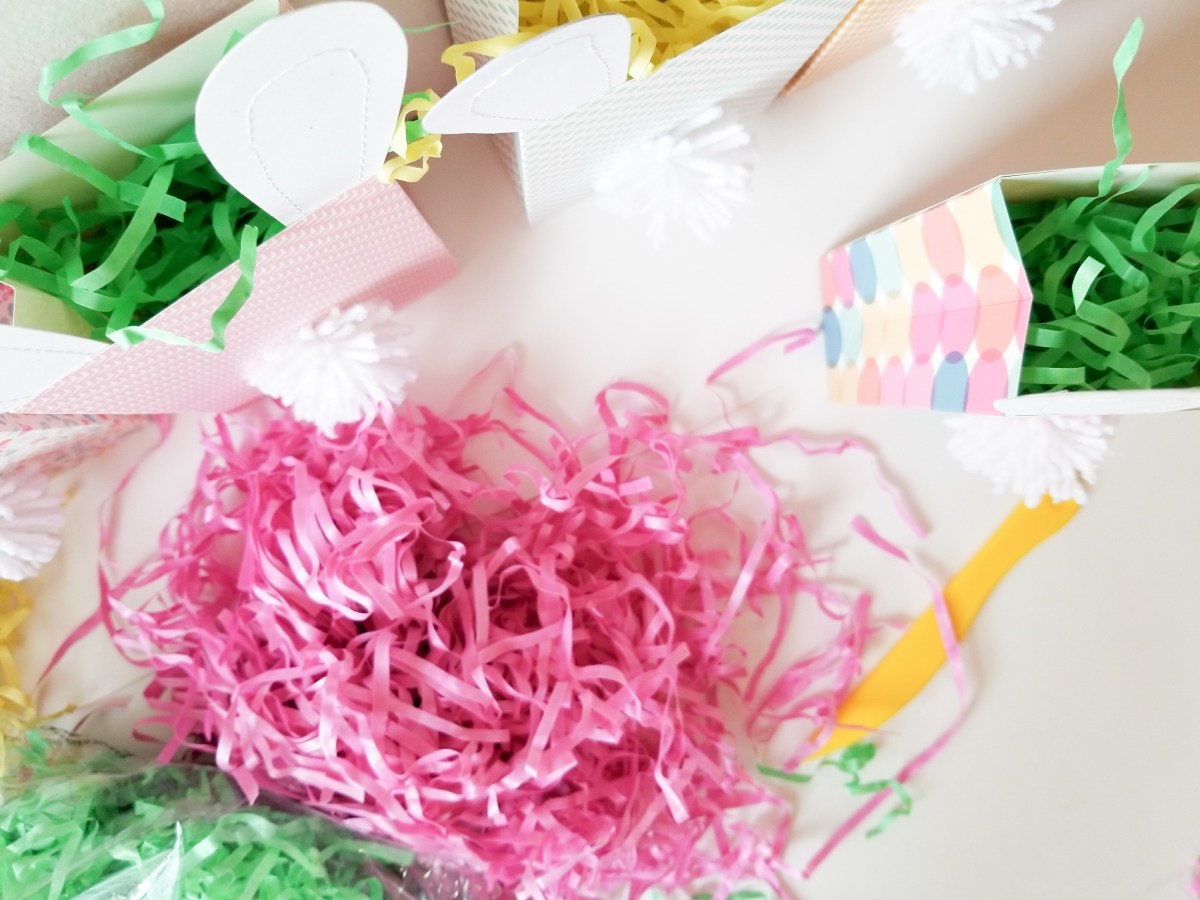
If you wish, you can leave them as is, add some handles, or close them with tape like I did…
That’s it friends!
This project is long overdue but now you can go make your own!
It’s the perfect last minute Easter project that can be finished in just a few short hours.
Using these 4 simple steps I made some super cutesy Easter goodie baggies and you can too! Especially if you’ve got the We R Memory Keepers Gift Bag Punch Tool, let’s get that thing out and get some dust off of it.
Thanks for stopping by today. I hope you all have a wonderful Easter and that you’re getting some crafting in this week! Xoxo

Discover more from All the Neffyness
Subscribe to get the latest posts sent to your email.
